Create Sync Folder
Create a dedicated Moire folder in Apple Notes
To let Moire know which notes need to be synced, we need to create a dedicated folder in Apple Notes.
Create the Moire Folder
Section titled “Create the Moire Folder”-
Open the Apple Notes app.
-
Create a new folder under the iCloud section.
-
Name the folder Moire (or any name you prefer).
-
Done!
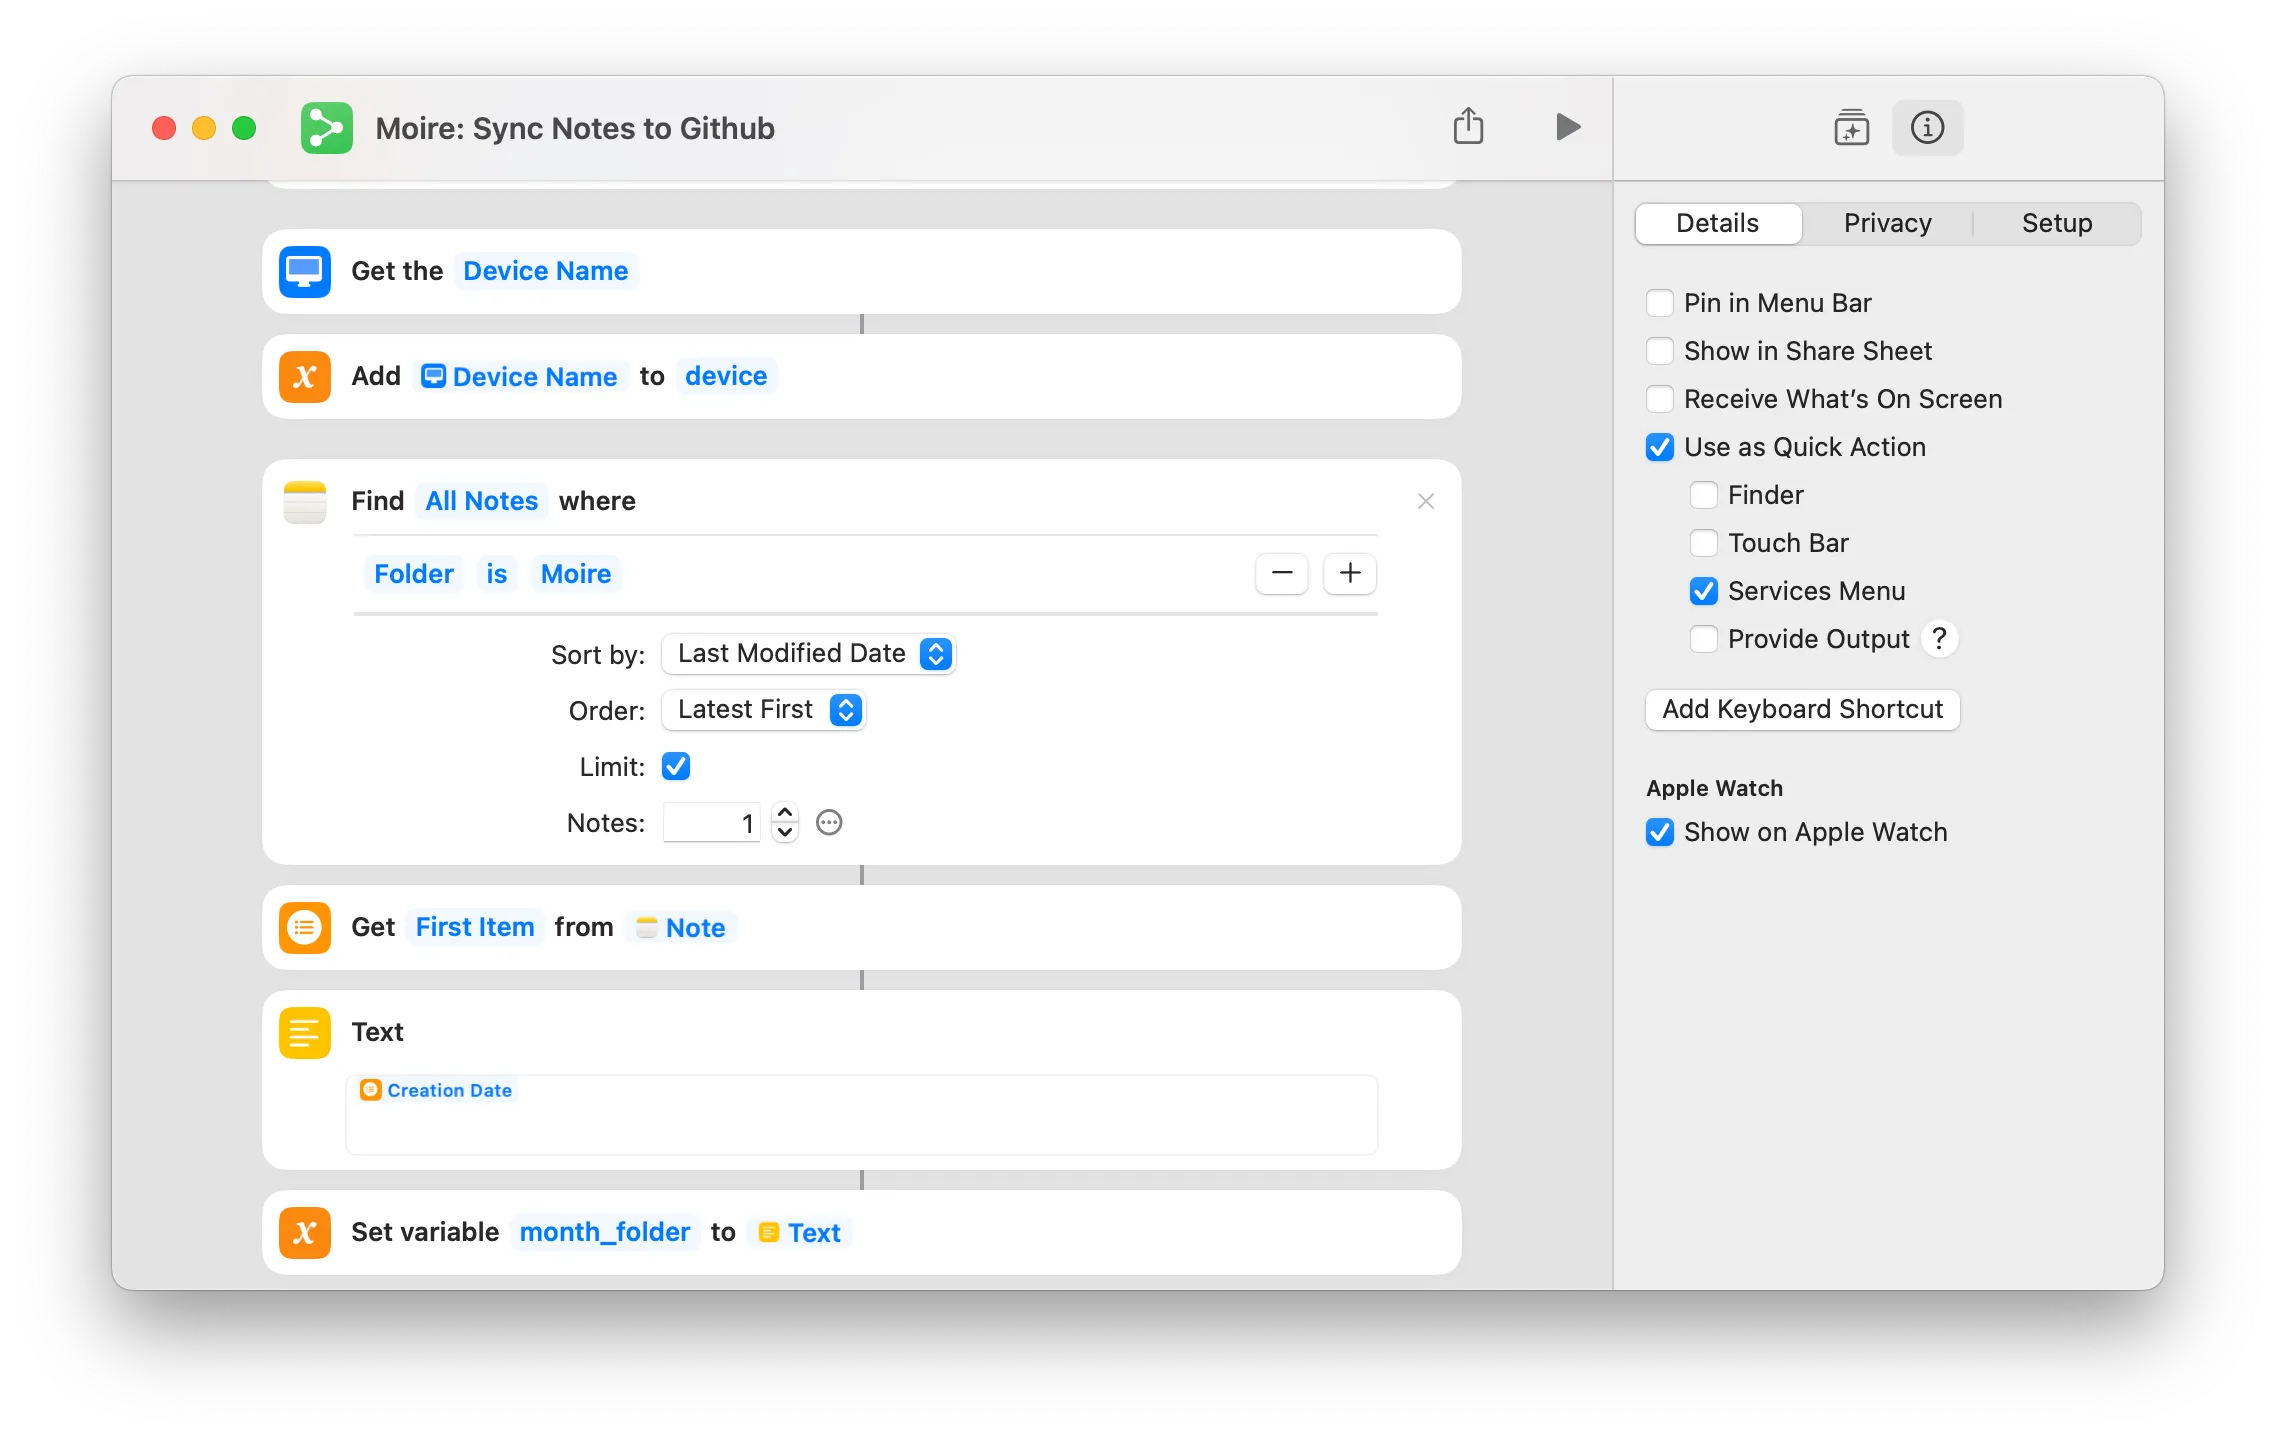
Please follow these steps:
- Open the Shortcuts app.
- Find Moire: Sync Notes to Github and right-click to edit.
- Find the step “Find all notes”.
- Click on “Folder” in the filter criteria and select the folder you just created.
Why Need a Dedicated Folder?
Section titled “Why Need a Dedicated Folder?”Better Organization
Section titled “Better Organization”A dedicated folder allows you to:
- ✅ Clearly know what content will be made public
- ✅ Better manage blog posts
- ✅ Avoid accidental operations
Folder Location
Section titled “Folder Location”Ensure the Moire folder is under the iCloud section, not “On My iPhone”.
📁 iCloud  └── 📁 Moire  ← Create it here
📁 On My iPhone  ← Not here
Start Creating
Section titled “Start Creating”Once the folder is created, you can start writing notes in it!
Writing Tips
Section titled “Writing Tips”- 📝 Use Markdown syntax (bold, italic, links, etc.)
- 🖼️ You can insert images (up to 1 image per note)
- 🏷️ Use
#tagsto categorize content - ⚠️ Avoid unnecessary spaces at the beginning or end of titles or body text.
- 📌 On macOS, the first paragraph is converted to a bold title by Apple Notes
- Keep it short, otherwise long content will be truncated and displayed twice
Example Note
Section titled “Example Note”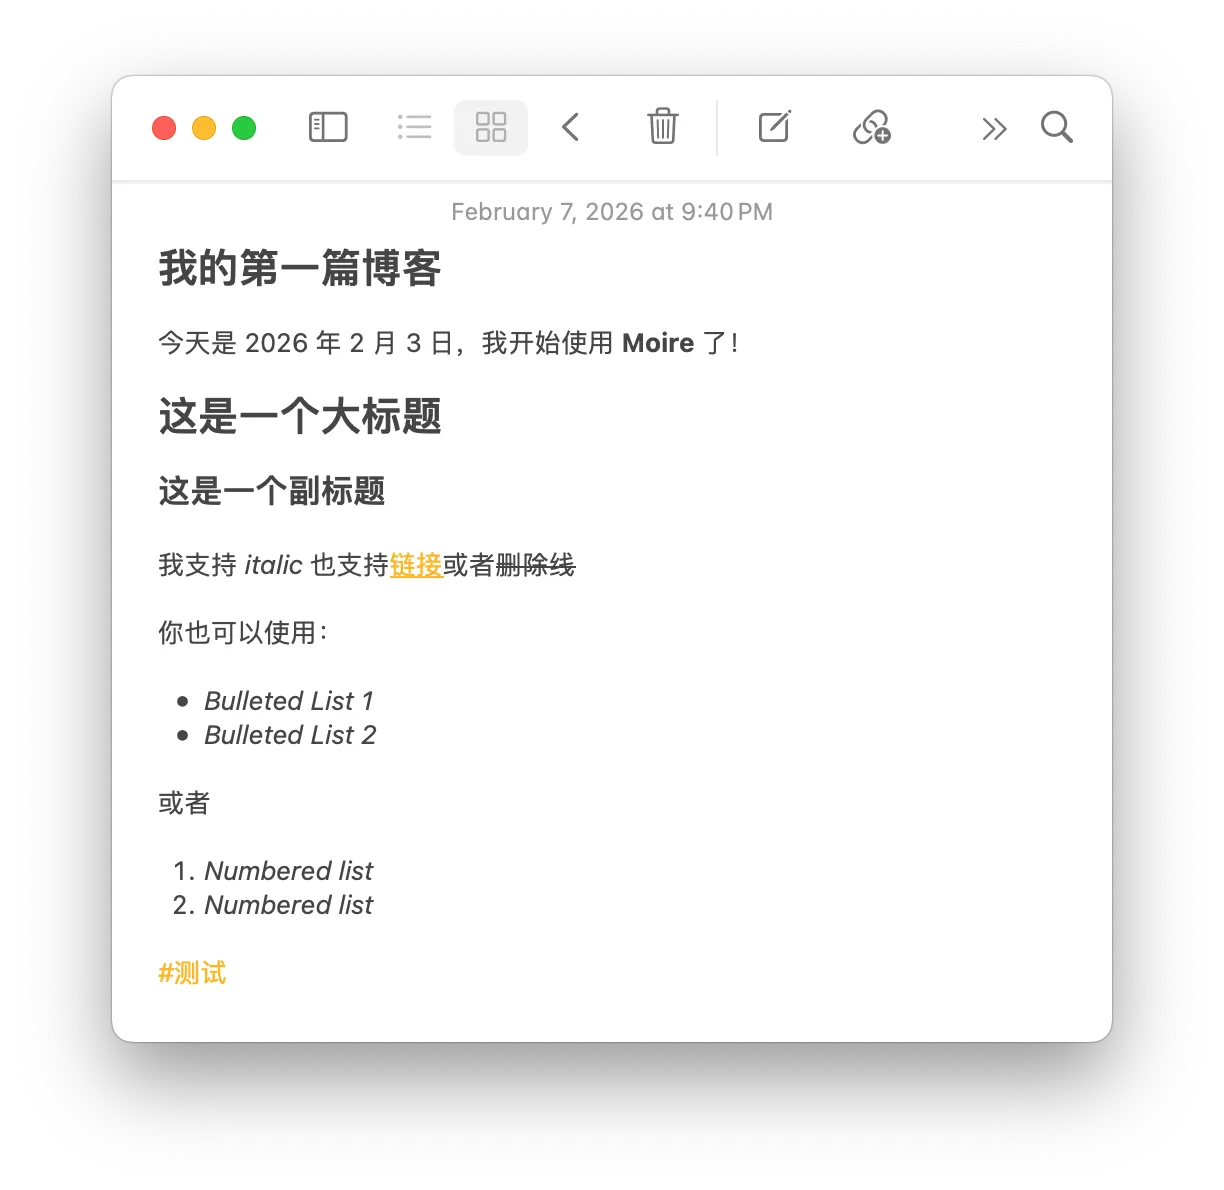
Deleting a Note
Section titled “Deleting a Note”To remove a synced note from your blog, simply add [DEL] to the note’s title and sync again.
For example, change the title from:
My First Blog Postto:
[DEL] My First Blog PostThe note will be removed from your blog on the next sync.
Accidentally deleted the note locally?
Section titled “Accidentally deleted the note locally?”If you deleted the note from Apple Notes before adding the [DEL] tag, you can:
- Find and restore the note from the Recently Deleted folder in Apple Notes.
- Once restored, add
[DEL]to the title and sync again. - If it’s no longer in the trash, you’ll need to manually delete the corresponding
.mdfile in your GitHub repository.
Sync Only (Private Backup)
Section titled “Sync Only (Private Backup)”If you only want to use Moire to sync and back up your notes without making them public as a blog, follow these steps:
Disable GitHub Pages
Section titled “Disable GitHub Pages”In your GitHub repository’s Settings > Pages, set the “Source” under Build and deployment to “None”, or remove the deployment workflow.
Set Repository to Private
Section titled “Set Repository to Private”In Settings > General > Danger Zone, change the repository’s visibility to Private.
Since the GitHub Access Token you configured in the Shortcut has permission to access private repositories, the sync functionality will still work perfectly, but your notes will only be visible to you.
Next Steps
Section titled “Next Steps”Now that the folder is set up, finally we need to configure automation so your notes sync automatically when you close the app.